
A Guide to leveraging Tabular Editor, C#, and XMLA Endpoint
At first glance, one might assume deploying from your repository is straightforward. So, why write an article about it?
If you’re familiar with Tabular Editor, you likely know the option to save model definitions, preferably in a folder structure, in your GitHub or Azure DevOps repository. From there, you can access the model, make necessary adjustments – such as modifying data sources, parameters, or even entire M Query partition definitions – deploy the metadata to a new tenant, and configure credentials in Power BI Service for report usage.
So far, so good. Now, imagine repeating this process for every model in your Power BI tenant, especially when making more than one modification on each model. While leveraging C# scripting in Tabular Editor could speed up tasks, I found there was still too much manual effort involved, particularly considering potential future models to be copied.
This led me to explore the possibilities of the XMLA endpoint more deeply as a potential solution. I realized I could directly manipulate model properties through scripting using a C# console application. However, setting up the process and handling authentication for both source and target tenants presented challenges.
After delving into various articles and documentation, trying out a lot of things with mixed successes, my aim is to consolidate my findings into a comprehensive step-by-step guide to share directly with you.
Setting up the pre-requisites
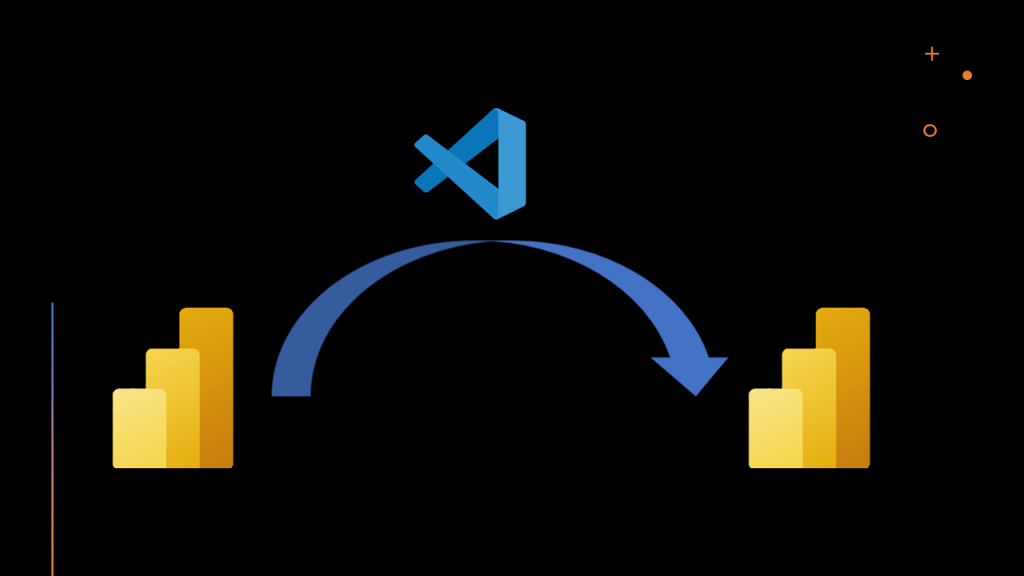
As I wanted to be as independent as possible, I chose Visual Studio Code as my development environment. One could choose Visual Studio as well, however, depending on your circumstances it might require some licensing.
Maybe it is also time to mention that I am not a born software engineer, everything I am about to share does not necessarily follow best practice rules. Nevertheless, the solution I came up with is working stable and does the job it is intended to do.
If not already installed, you need some extensions for VS Code. You can directly install them from the marketplace in the GUI. I installed the C# DEV Kit, an official extension by Microsoft. In times of AI, I also found the usage of GitHub Copilot quite useful which speeds up some repetitive tasks while coding – honestly, I was very surprised how well it works! But I am digressing… To conveniently install the necessary dependencies to your C# project, the NuGet package manager is also quite helpful as an extension.
After having these extensions installed, we can create our first application. To run my code locally, I chose creating a Console application. By pressing CTRL+P and entering >.net: New Project… you can see in the dropdown window of VS Code the prompt to be selected for creating a new project.
The interface is straight forward. After selecting the kind of the project, which is a Console App, you provide a name to your project and enter the location where you want to store the application files (ideally also in a repository). After that, I reopened VS Code with selecting the folder path I just created my project to not mix something up when creating files or something like that. Now, you can first test your application which should ideally print the famous “Hello, World!” statement in your console. To achieve that, just run the application by clicking the icon in the top right corner.
Finally, it is required to implement the needed dependencies using NuGet. CTRL+P and >nuget gets us the package manager. In order to leverage the XMLA endpoint, you need to add one package with the latest version to your project: Microsoft.AnalysisServices.NetCore.retail.amd64
After that, we are all set and can start coding.
Connecting to the server
A colleague of mine whom I asked for advice told me, the most difficult part of this scripting will be the authentication to the server. And it turned out that he was right. Like stated in the beginning, I did a lot of research on this topic, however, only one method worked out quite well for me. As a guideline, I can really recommend following the steps provided on Microsoft Learn.
Following along the steps you will realize that there are multiple ways to authenticate with the Power BI tenant. Nevertheless, they all have one thing in common: You always connect to one address:
powerbi://api.powerbi.com/v1.0/myorg/[YOUR_WORKSPACE]The next question would then be, how do you wish to authenticate with the server. Following along with best practice rules, you would use a service principal for authentication and not your personal credentials. Setting up a service principal as a whole different topic by itself, but pretty straightforward. Just make sure you are assigned with the right Azure and Power BI tenant privileges or ask someone in your organization to help you with that. Following these guidelines from Microsoft Learn again would help you with setting the service principal up.
Coming back to the original question, the authentication method. In order to authenticate to with the Power BI tenant, you would need simply call the server.Connect() method. This method takes one argument, the connection string, which is basically a concatenated string of multiple components, depending on your authentication method.
DataSource=powerbi://api.powerbi.com/v1.0/myorg/[YOUR_WORKSPACE];User ID=[YOUR_USER_ID];Password=[YOUR_PASSWORD];The first part is (always) the same. When you use a global Power BI solution, and not encapsulated solutions like you would find for example in China, the connection string always starts with the address you would like to connect to including the workspace name. This part is mandatory and if you leave it like that, your application will still work, however, you will need to provide your credentials every time you run it. Like mentioned before, you could either authenticate with your user credentials (like shown above) or with the freshly created service principal details as follows:
DataSource=powerbi://api.powerbi.com/v1.0/myorg/[YOUR_WORKSPACE];User ID=app:[YOUR_APPLICATION_ID]@[YOUR_TENANT_ID];Password=[THE_SECRET_OF_YOUR_APP];The application id, tenant id and the secret will be set during the creation process of your service principal.
In both cases make sure you do not forget about the semicolon and the end! When you put these things together, please make sure you are using the package we have referenced earlier to use the Tabular libraries. If you put all these things together, you will end up with a similar script as the following one where I also included some error catching to make my application more readable as a user.
public static Server ConnectPbiWorkspace(string pbiDomain, string workspace, string userId, string password)
{
   string workspaceConnection = $"powerbi://{pbiDomain}/v1.0/myorg/{workspace}";
   Console.WriteLine($"Connecting to {workspaceConnection}...");
   Server server = new();
   string connString = $"DataSource={workspaceConnection};User ID={userId};Password={password};";
   try
   {
      server.Connect(connString);
      return server;
   }
   catch (InvalidOperationException e)
   {
      throw new ArgumentNullException($"No connection possible to {pbiDomain}/{workspace}.", e);
   }
}
public static Server ConnectPbiWorkspace(string pbiDomain, string workspace, string appId, string tenantId, string secret)
{
   string workspaceConnection = $"powerbi://{pbiDomain}/v1.0/myorg/{workspace}";
   Console.WriteLine($"Connecting to {workspaceConnection}...");
   Server server = new();
   string connString = $"DataSource={workspaceConnection};User ID=app:{appId}@{tenantId};Password={secret};";
   try
   {
      server.Connect(connString);
      return server;
   }
   catch (InvalidOperationException e)
   {
      throw new ArgumentNullException($"No connection possible to {pbiDomain}/{workspace}.", e);
   }
}
To finally test your connection, you can again do a simple “Hello World” test by listing all your semantic models in the workspace you just connected to. A simple foreach statement will do the trick:
foreach (Database db in server.Databases)
{
   Console.WriteLine(db.Name);
}
Preparing the migration of models
To migrate your models, it is needed to – you name it – authenticate to two workspaces, usually on a different tenant, otherwise you could use a deployment pipeline and doing this C# scripting here would be an overkill. If you need to migrate to another tenant, you will need to obviously setup the service principal for this tenant as well or again use your personal credentials – whatever seems to be more useful for your use case.
The algorithm for executing the migration might be the following:
- Authenticate to both workspaces and create a list of semantic models you wish to migrate.
- Loop through this list:
- Create a copy of the model to a new variable.
- Eventually add modifications to your copied model (remember, it is just copied as metadata in memory of your script until now).
- Create a new database in the tenant or select an existing database you would like to use for this migration.
- Copy the adjusted metadata to the newly create database.
- Save the changes.
- Finally eventually trigger a refresh of the database.
- Close the connections.
Your specific business requirements might also vary. From now on, it is plain and simple C# coding. However, it is good to have the TOM architecture in mind as this will help you to navigate between the different objects, such as tables, partitions, columns, shared expressions, and so on. The C# Tabular library is exactly structured like the TOM architecture, meaning for example a model is an object of a database. A database is part of a list of databases on a server (our Power BI workspace). The model in turn holds a list of tables of which one table again has a list of partitions. So, having this structure in mind, it might help you while creating your code.
At the end of the day, a couple of functions include the base functionality:
// Create an empty model to work on during the modifications
Model? model = new();
// Existing model will be copied to the newly created empty model
db.Model.CopyTo(model);
string name = model.Name;
// Update the name in case there is already one database at the target
name = server.Databases.GetNewName(name);

// Create a new database with the provided model and name
Database copy = new()
{
   Name = name,
   ID = name,
   CompatibilityLevel = 1601,
   StorageEngineUsed = Microsoft.AnalysisServices.StorageEngineUsed.TabularMetadata,
   Model = model
};

try
{
   // Add the database to the server and return it afterwards
   server.Databases.Add(database);
   database.Update(Microsoft.AnalysisServices.UpdateOptions.ExpandFull);
   database = server.Databases.GetByName(name);
   Console.WriteLine($"{name}: Added new database.");
}
catch (Exception e)
{
   Console.WriteLine($"{name}: Failed to add database to the server.");
}
And that is it – nothing more complex. Of course, it is only the base functionality, and I did no modifications to it like for instance changing the data source or updating RLS settings – that totally depends on your business requirements.


Leave a comment